After telling a few friends I’m exploring ways to recycle fabrics and make new, beautiful things from them, I have received a lovely variety of clothing! Everyone seems very enthused about the idea of finding new uses for things that aren’t good enough to donate.
So far I’ve focused a lot on t-shirt material, so I thought it was time to branch out and explore what other materials could be turned into. This is where the braided rug comes in.
Here is how I made mine and what I learnt along the way:
Materials:
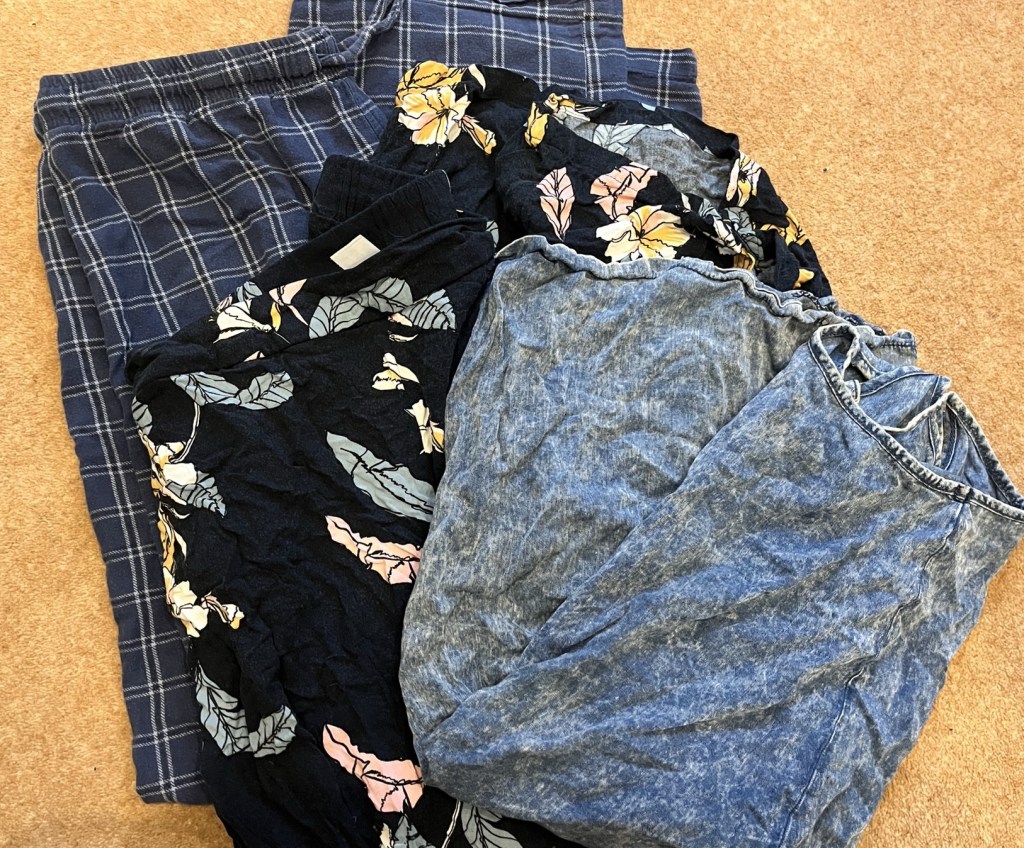
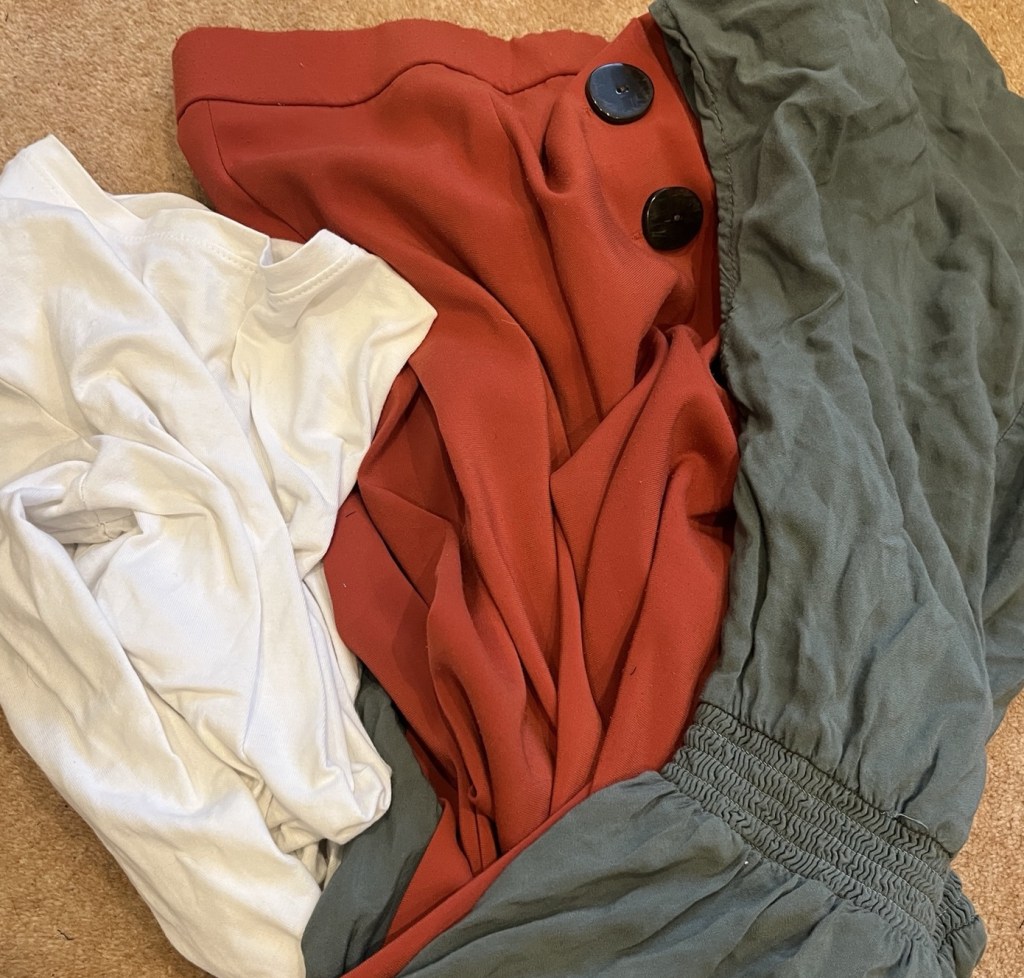
- Fabric: In total I used 6 items of clothing- two pairs of pj bottoms, two dresses, a pair of work trousers and a T-shirt
- Fabric scissors
- Sewing machine or needle and strong thread
Method:
1. Choose your fabric- I started out with two pairs of pj bottoms and a jegging material dress.
2. Remove the hems from the garments then cut the fabric into 2 inch wide strips.
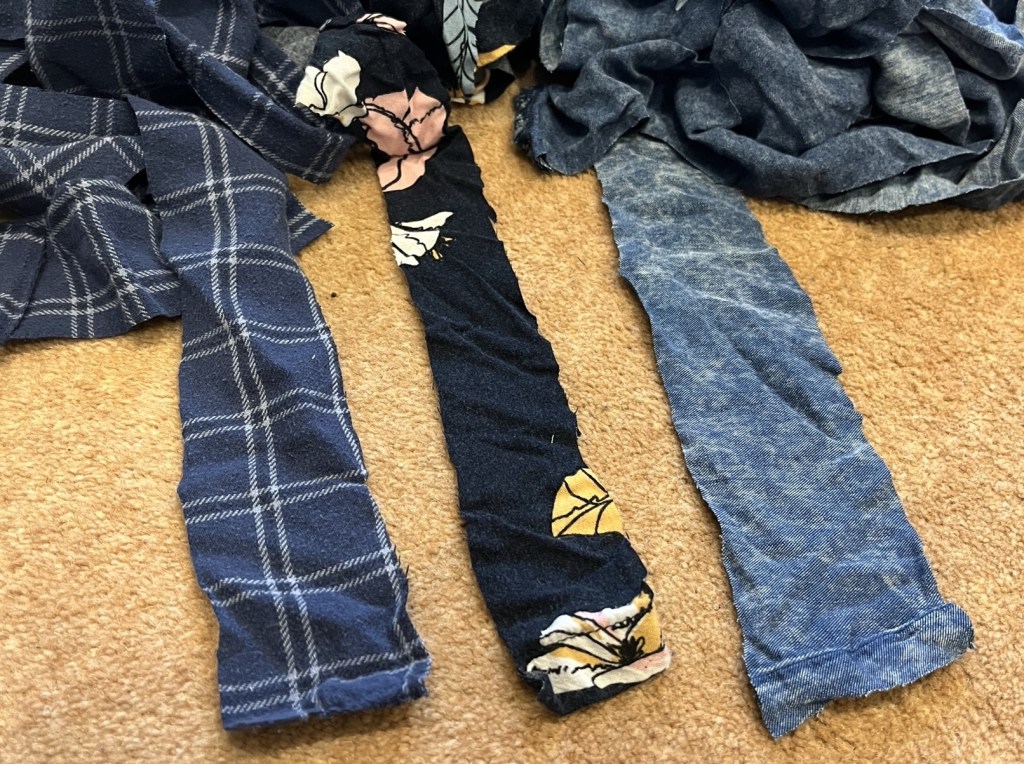
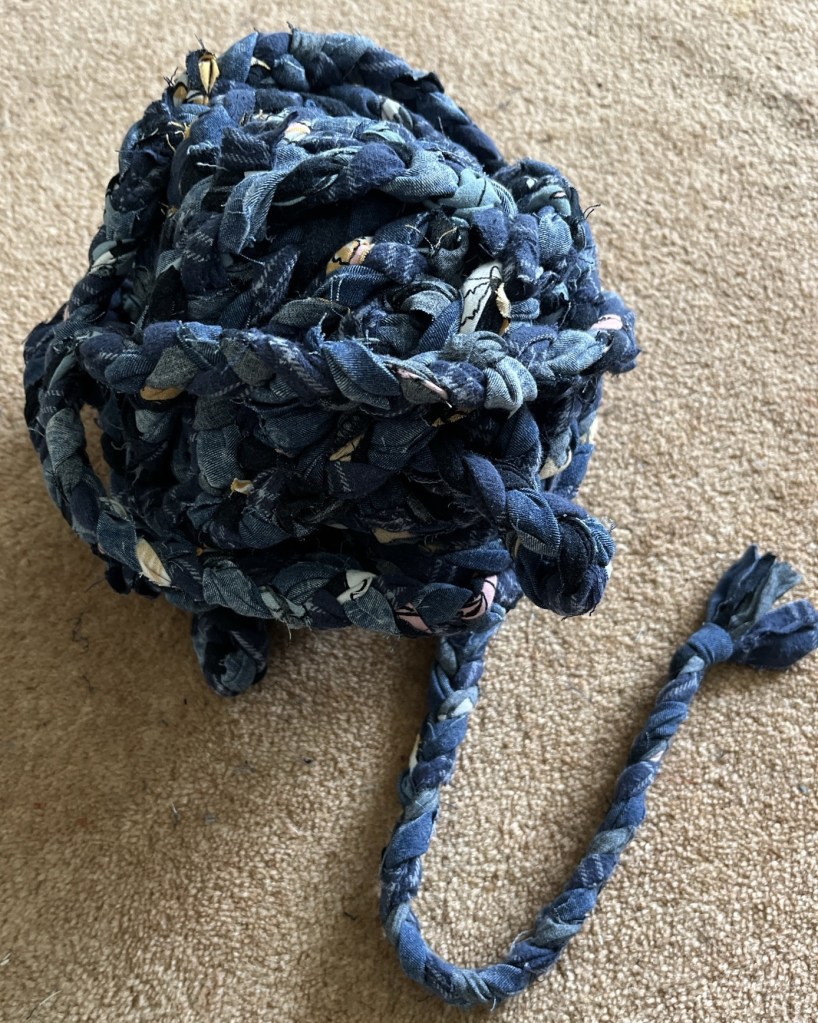
3. Take a strip of each fabric and join the ends together with a knot or elastic band. Then start plaiting the strands together.


4. Continue plaiting, attaching new strips of fabric to the previous ones as you need, until you have a very, very long plait.
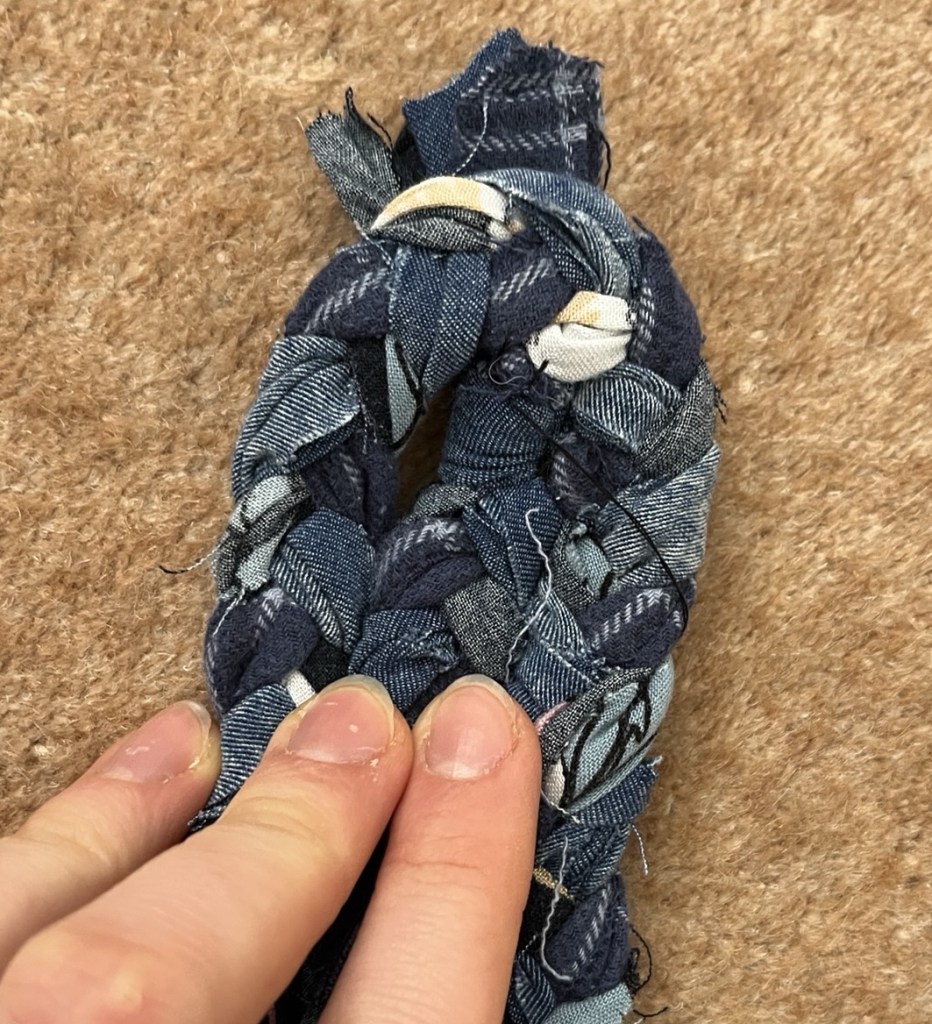
I tried to hide the join knots and seams within the plait and poked any stragglers through so they sit on the underside of the plait.
5. Start wrapping your plait round and round to see if you are happy with the size of your rug.

At this point I decided to add a different coloured border so chose three new fabrics and started incorporating them.
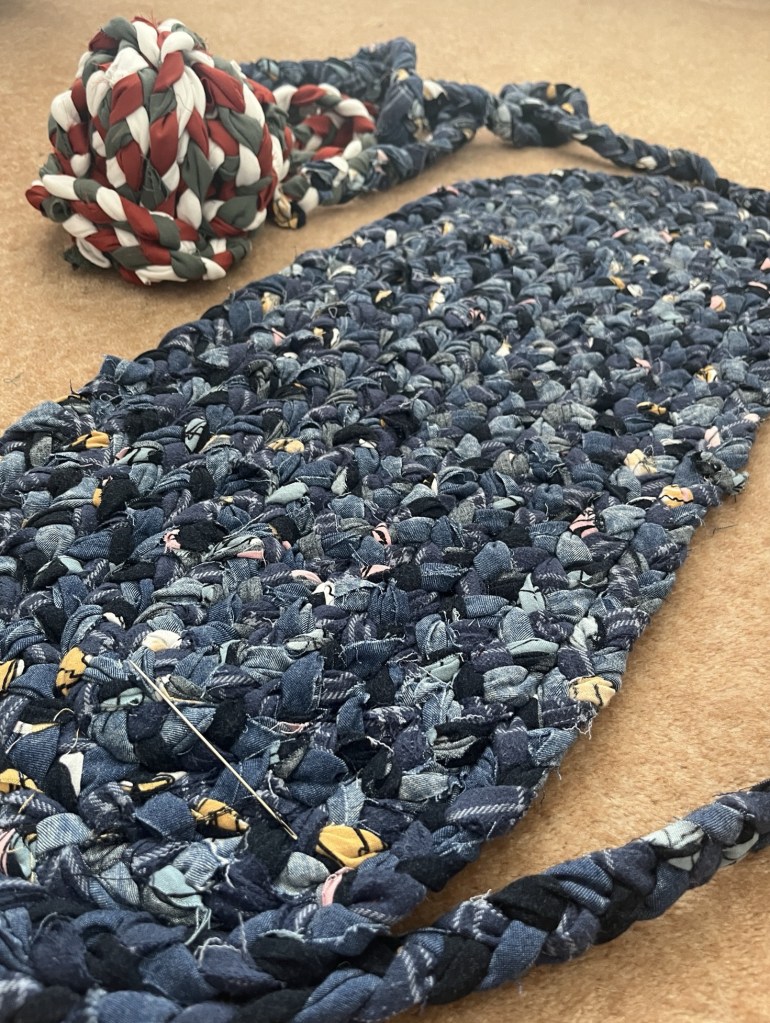
6. Once happy with the size of the rug, wrap the plait into a ball with the plait end to be at the outer edge of the rug in the centre of the ball.
7. It’s time to sew the rug together. I did this by hand but it would be much faster with a sewing machine using zigzag stitch!
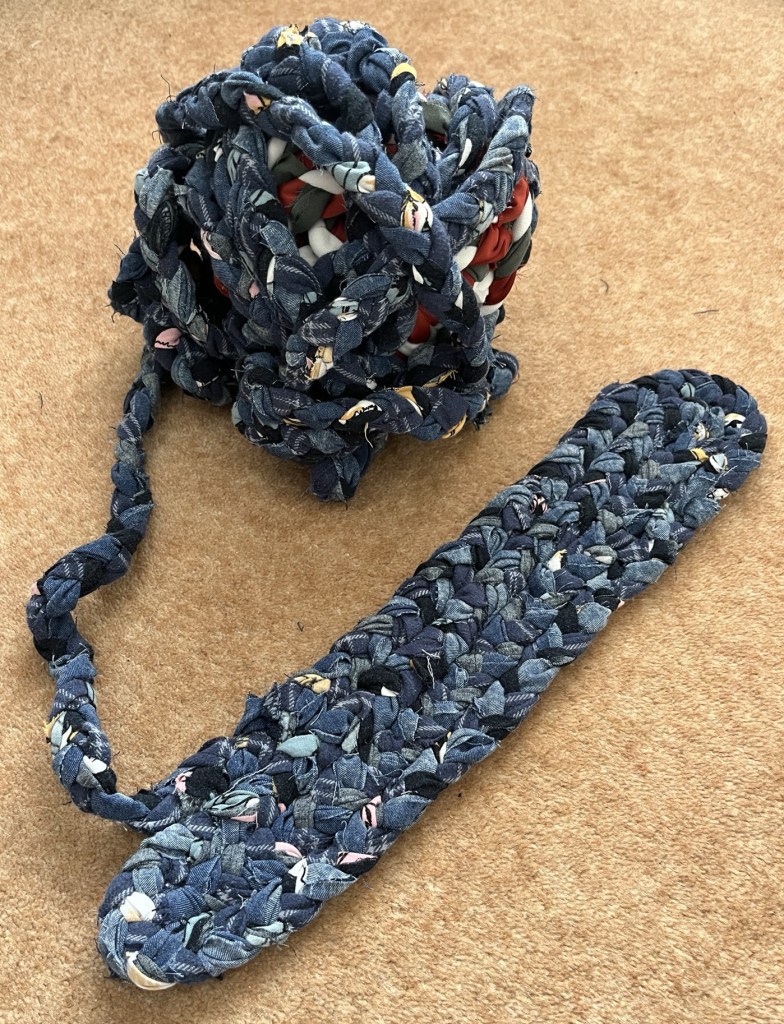
You are going to sew the plait together in concentric circles, staring in the middle and working your way outwards.
For the first section of the rug, measure approximately 20 inches then bend the plait back on itself. Sew the inner edges of the plait together.
Then it’s a case of continuing to wrap the plait round this central strip and sew the inner edges to the previous round until you reach the end of your plait.
Make sure you leave a bit of slack in the corners to ensure your rug doesn’t buckle and curl in on itself.
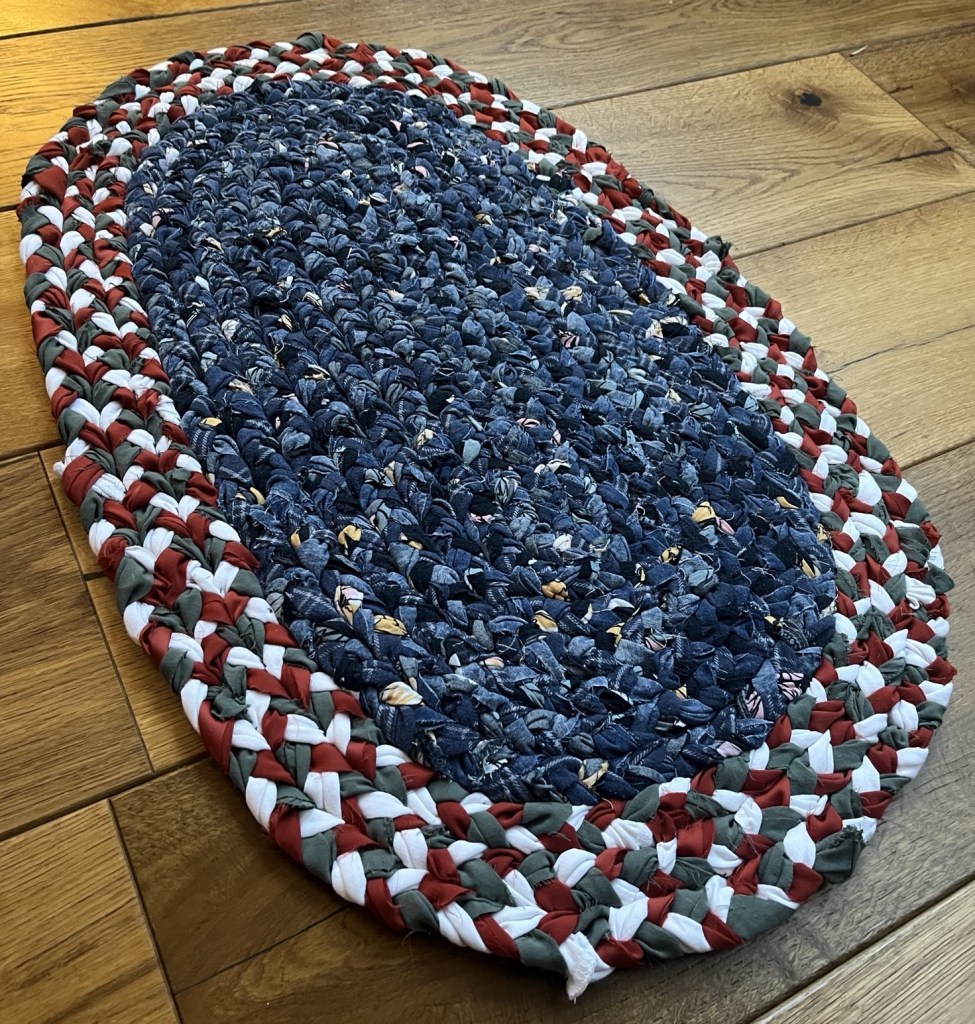
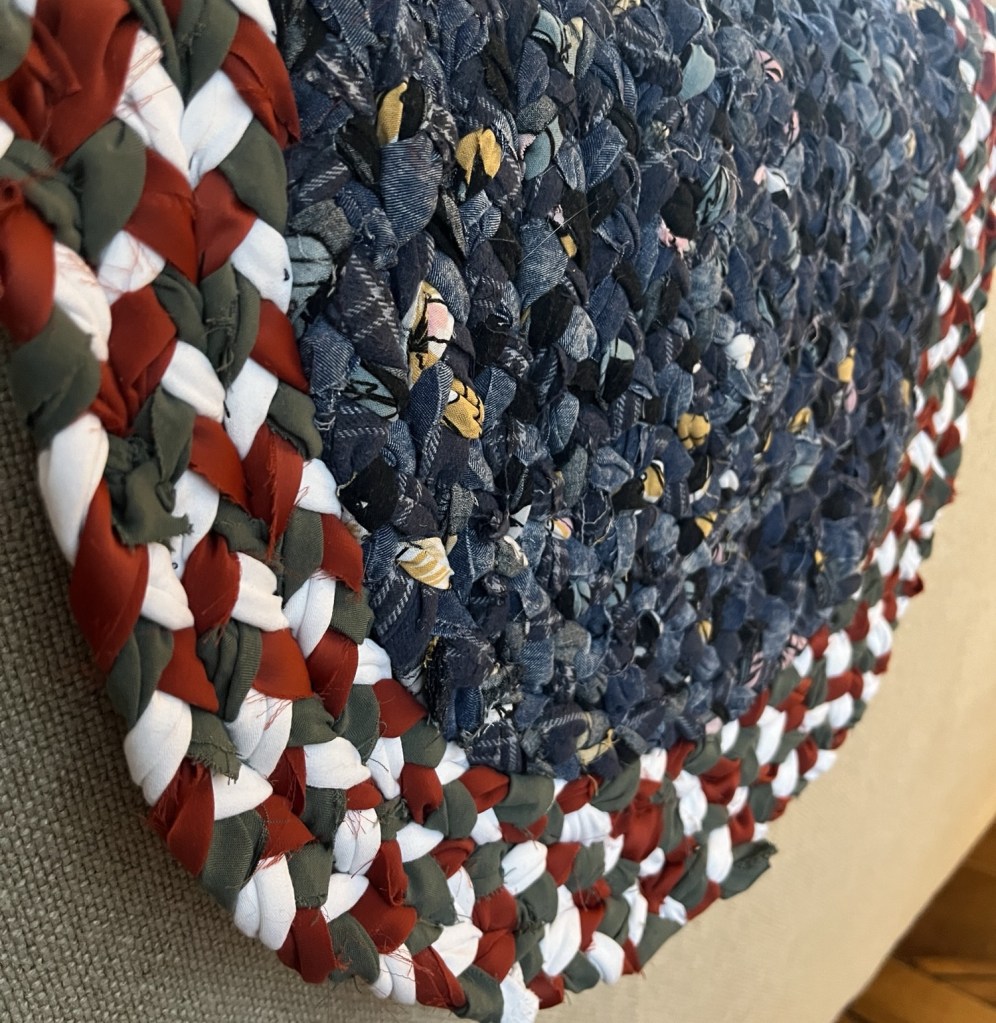
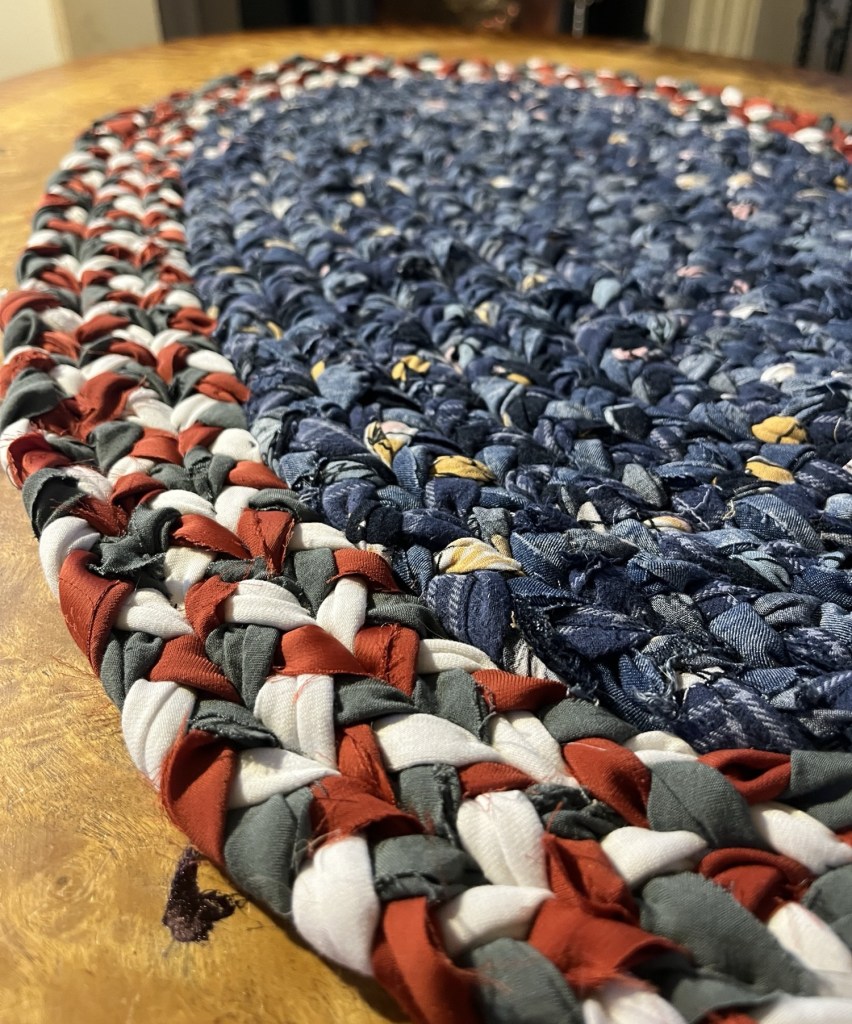
Et voila you have a braided fabric rug!
I love how this turned out, particularly the bold border! The sewing took a long time so I will definitely use a sewing machine next time.
As I was reaching the end of the plait when sewing it together, I realised a little extra length would make the plait finish the round I was on so I just tied on some extra lengths of yarn, plaited them together, then sewed them in place! Easy extension!
I’m looking forward to making more in all different shapes and sizes. If you make one too please do pop a picture in the comments- I would love to see all the different colour combinations and hear what fabrics you used!
X

Leave a comment