As part of my ‘Use-Up Project’ efforts my attention turned to my pile of holey socks. I’ve never really been sure what to do with them but the idea of throwing mostly fine textiles into landfill didn’t sit right with me.
I stumbled across the idea of a sock rug and instantly fell in love with it! While it’s still an ongoing project I wanted to document my progress so far and inspire others to give those holey socks a purpose!
Gather you socks and let’s get going!
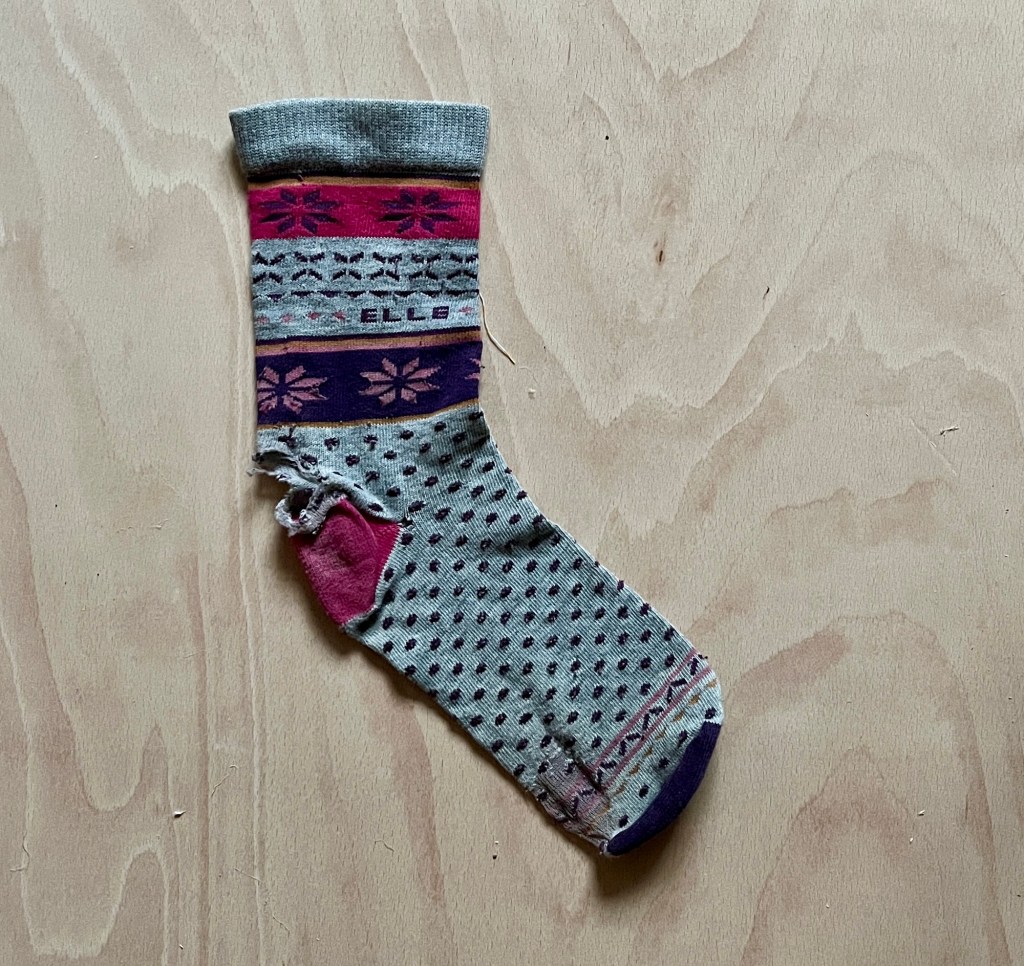
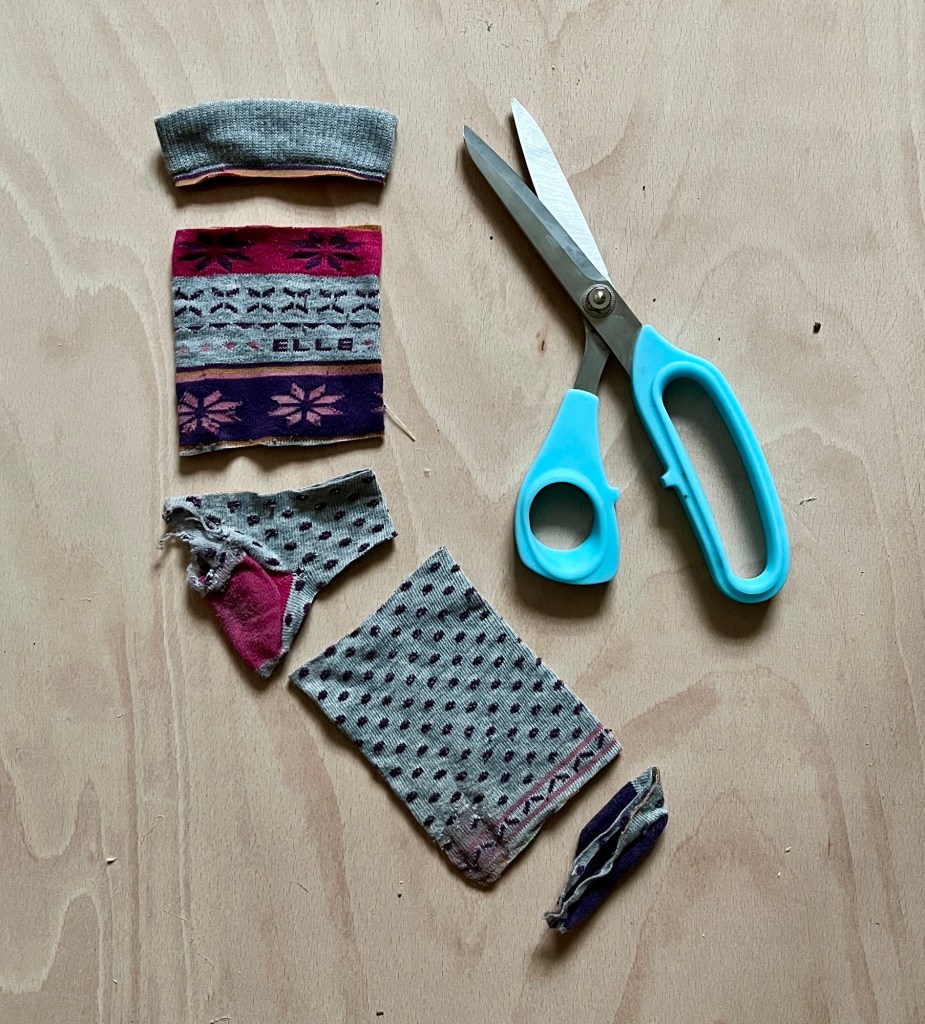
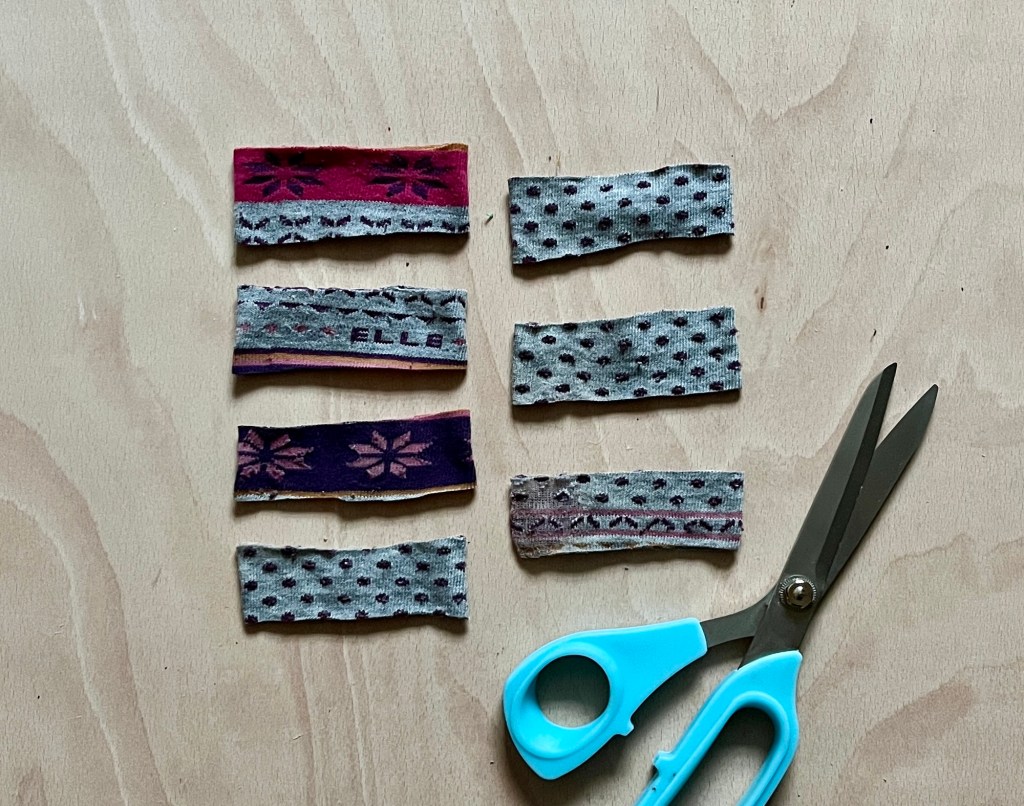
- Take your sock and cut off the toe, heel and cuff. This will leave you with two tubes of fabric.
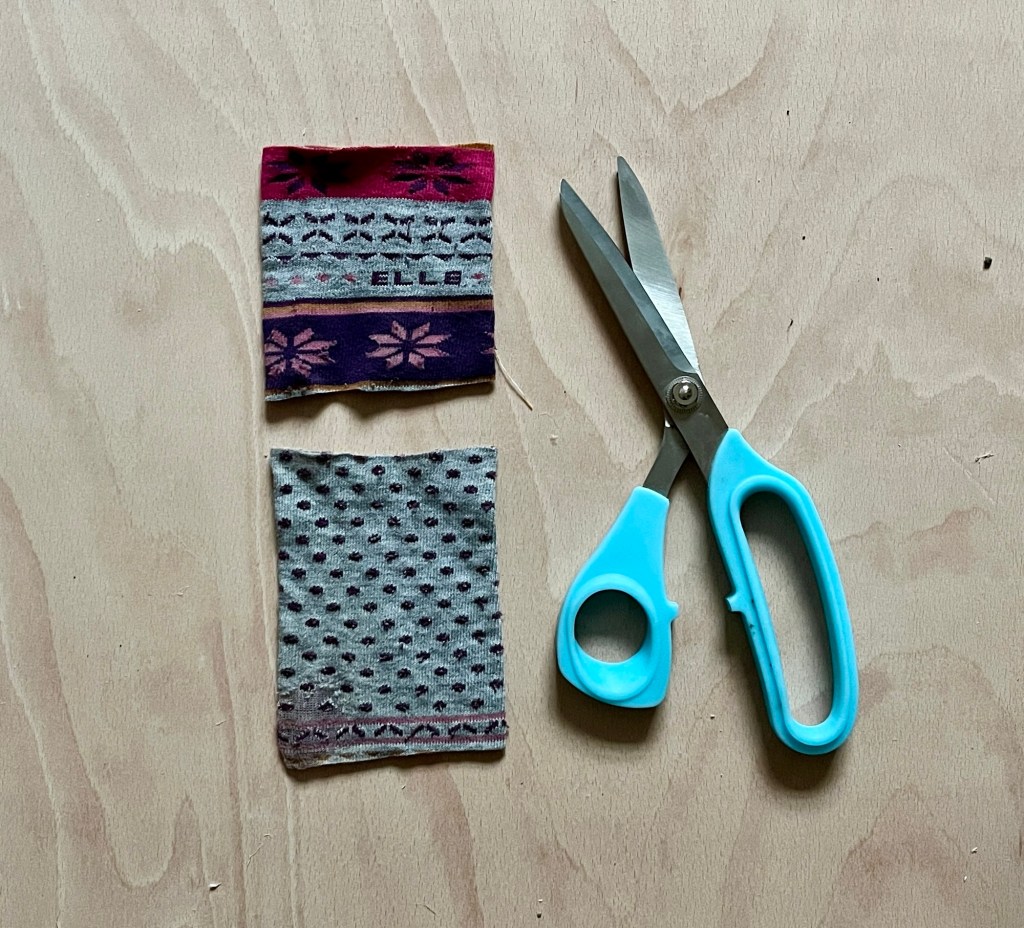
2. Cut the tubes horizontally every 2.5cm. Now you have lots of short tubes!
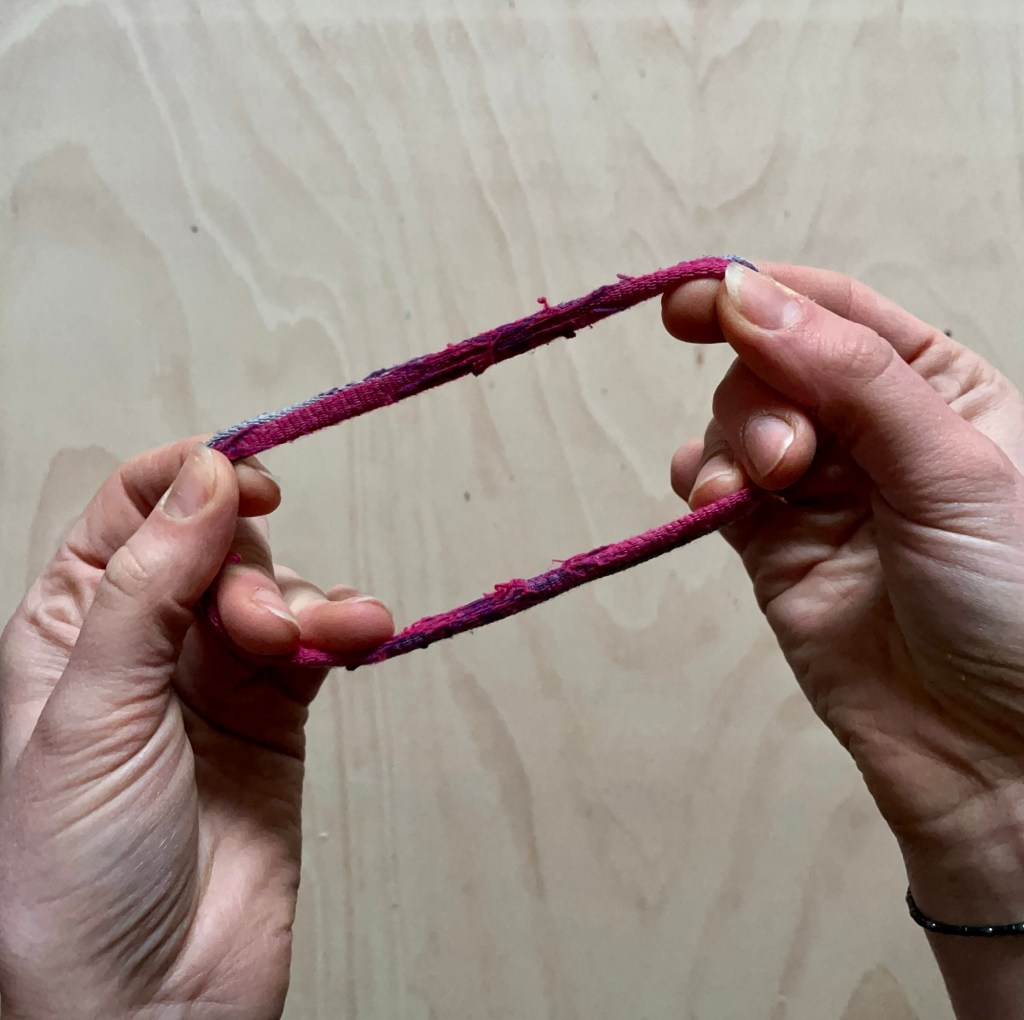
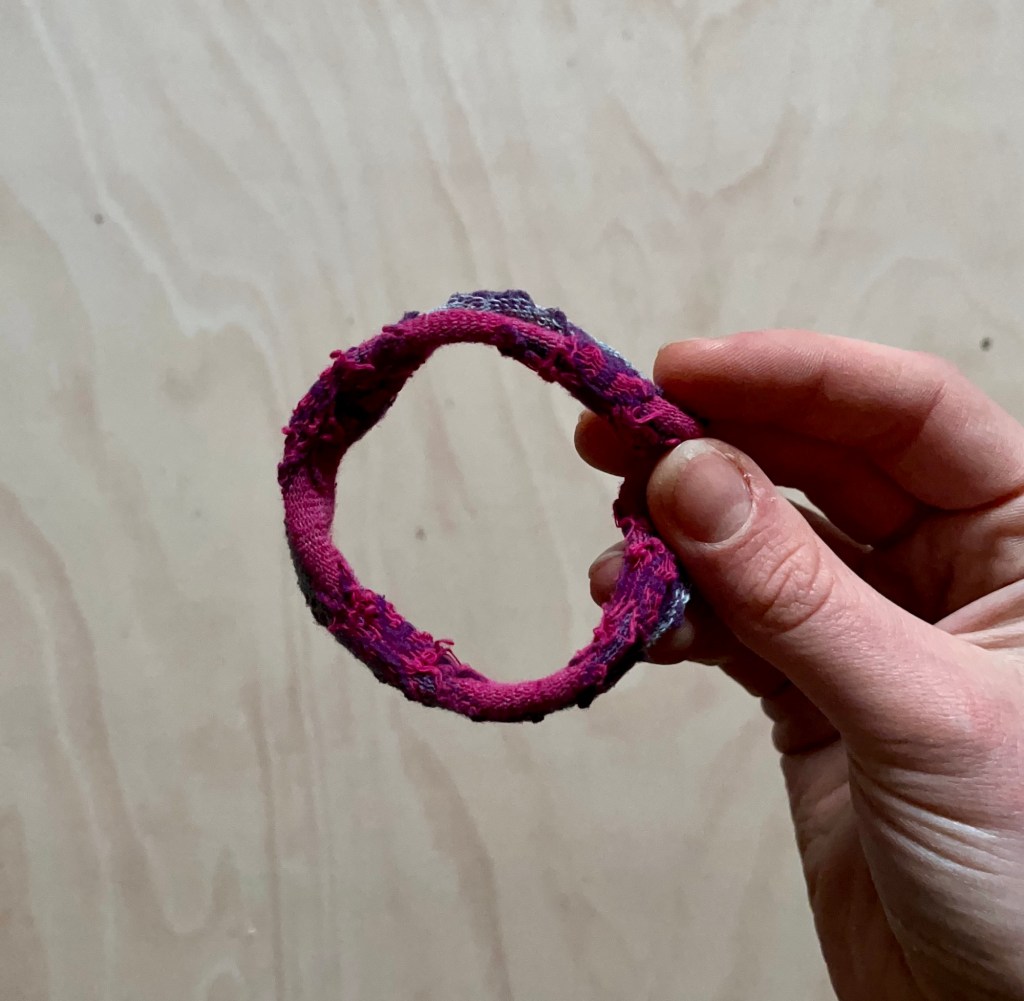
3. Take each strip and pull it. This will give you a bigger diameter and also roll the fabric so it doesn’t show the raw edges. You will now have lots of sock rings!
Now it’s time to start building the rug! The process of starting the rug is the same as adding rings to a growing rug:
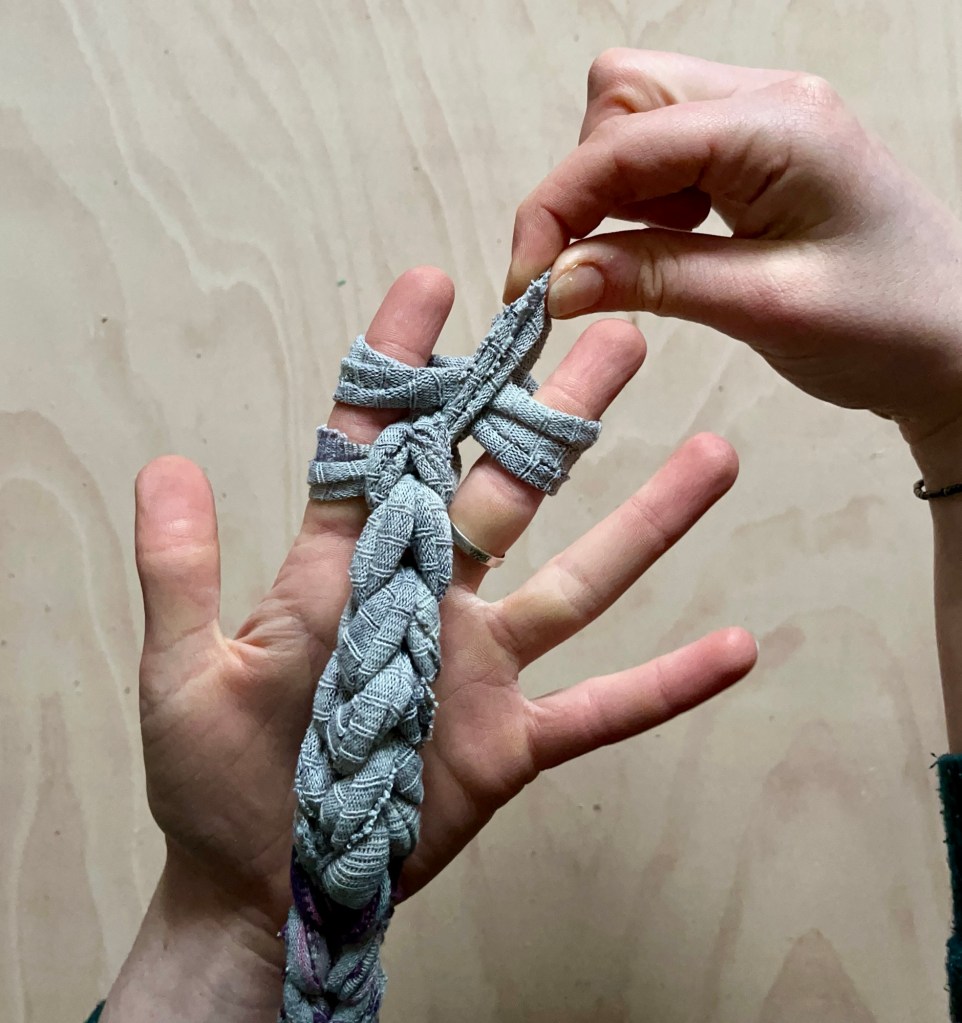
- Take one sock ring, twist it then fold it in half so it is doubled over.
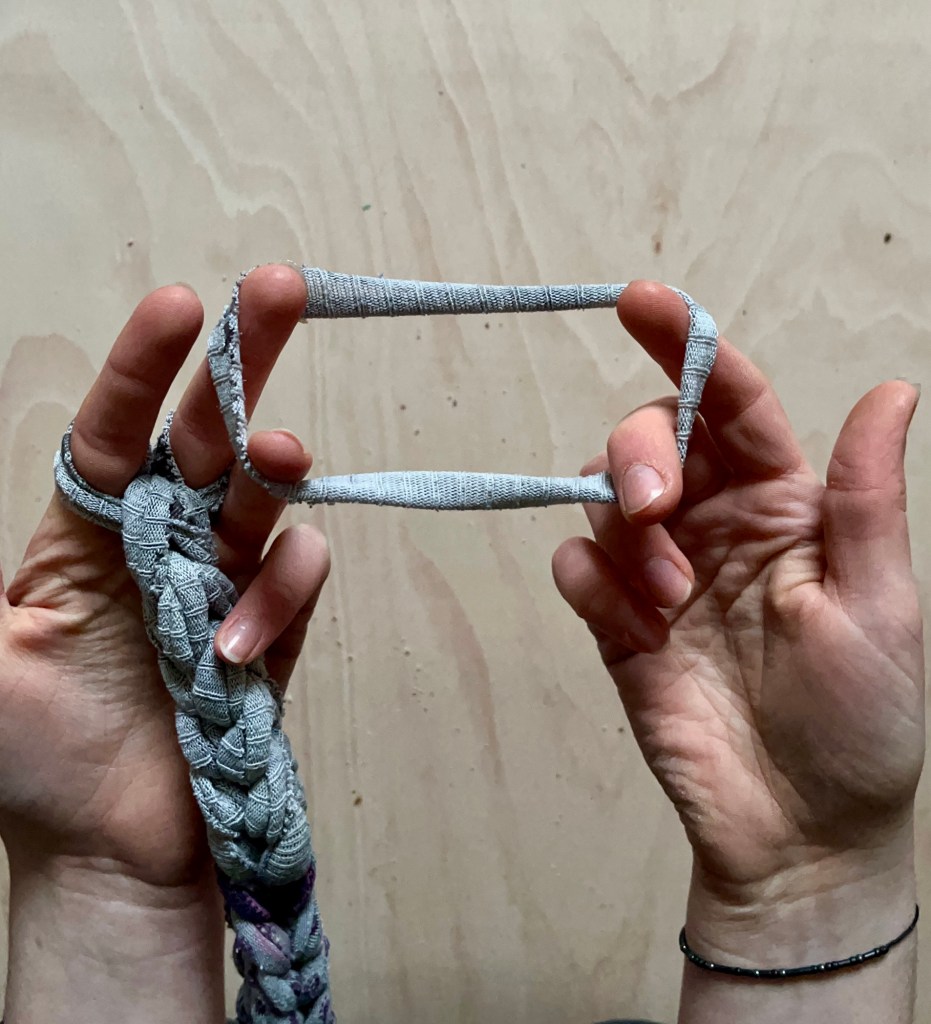
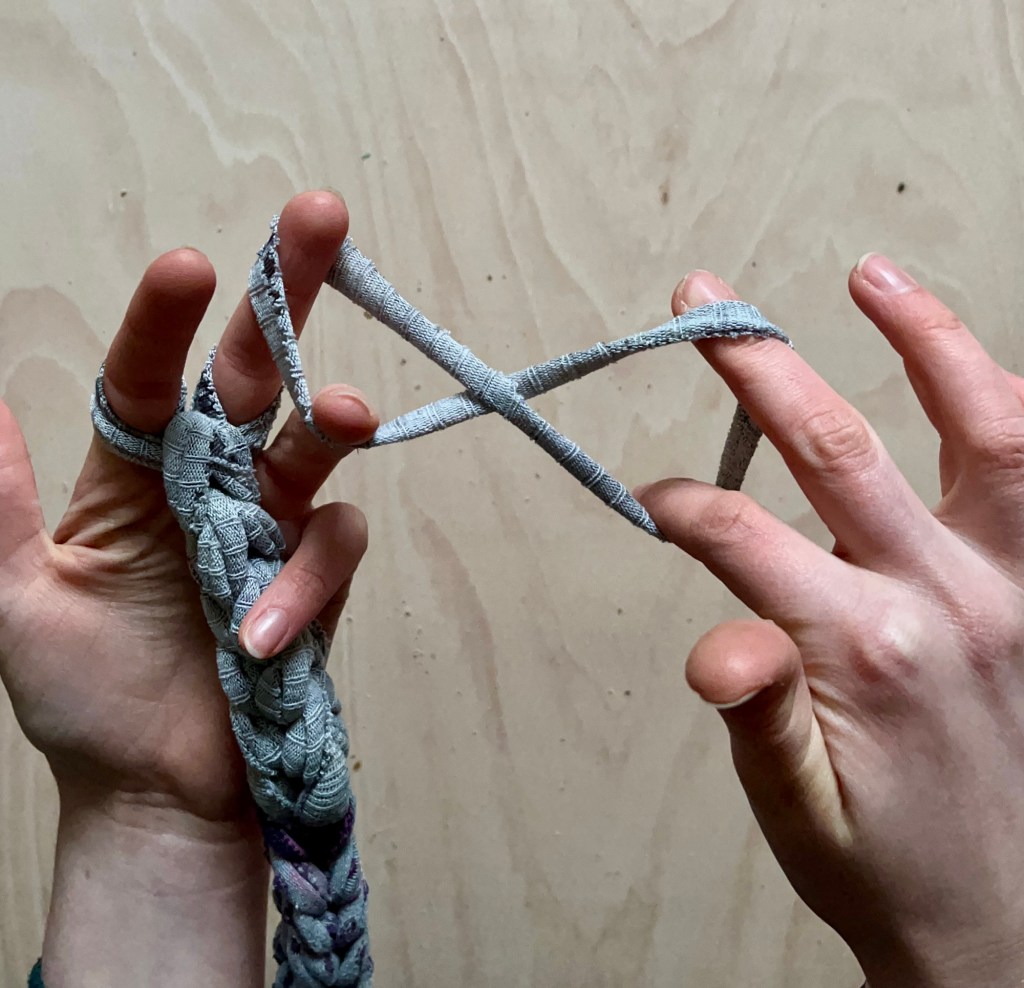
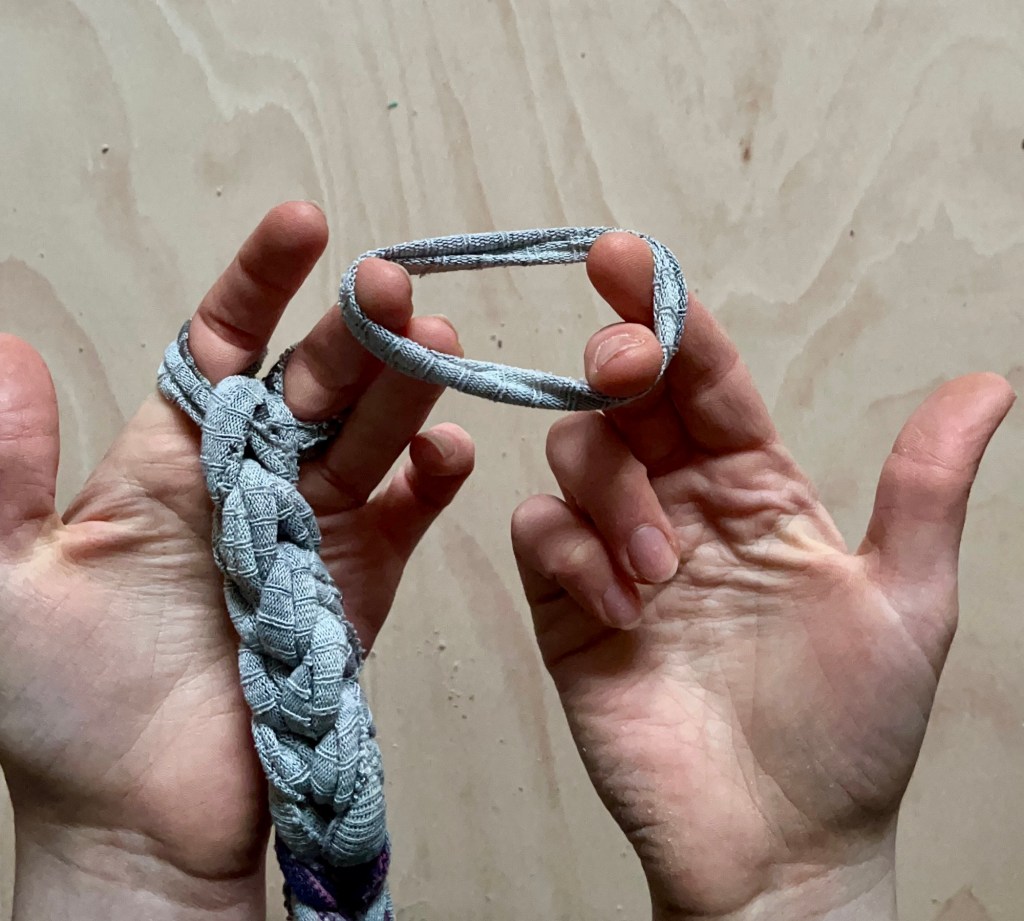
2. Place this doubled over sock ring onto your first and second finger.
If this is the first sock ring of your rug, you now need to repeat steps 1 and 2 so you have two sock rings on your fingers.
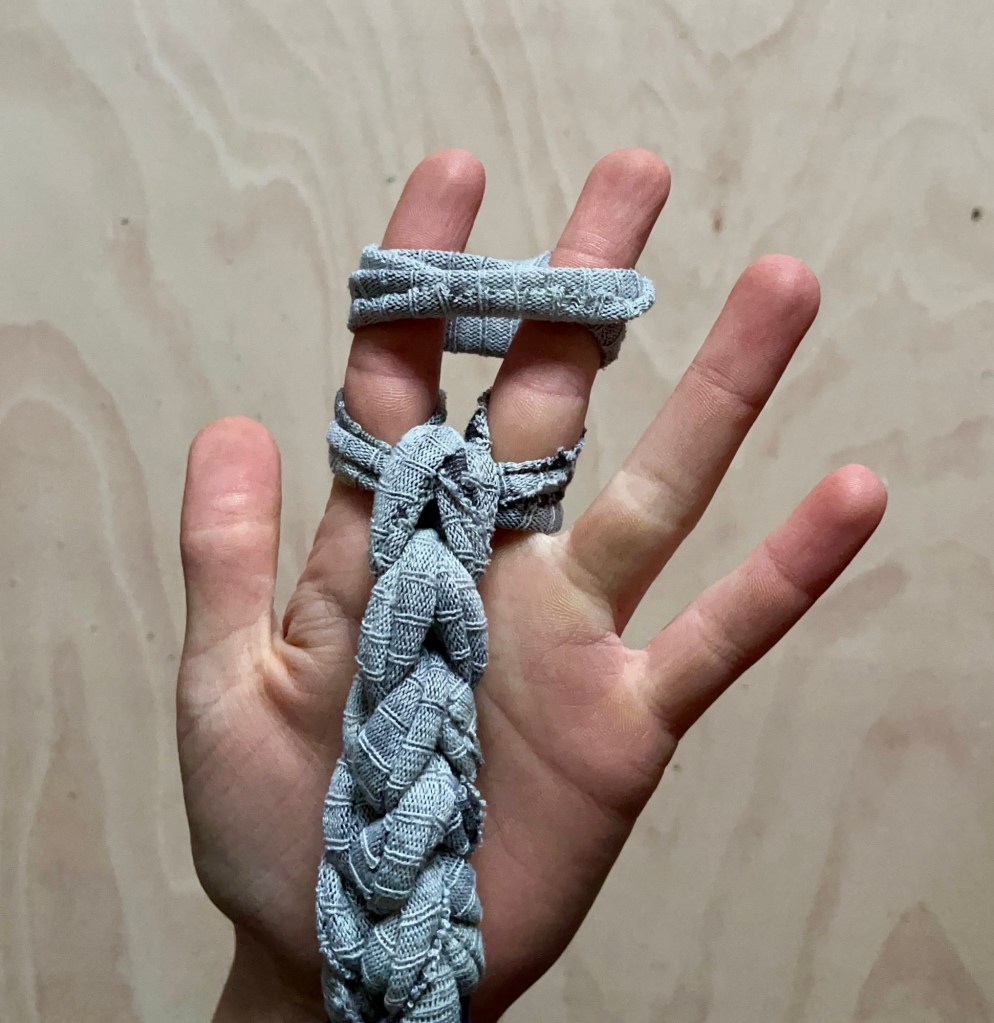
3. Take the right hand side of the lowest sock ring and pull it up and over your finger so it now sits on top of the higher sock ring.
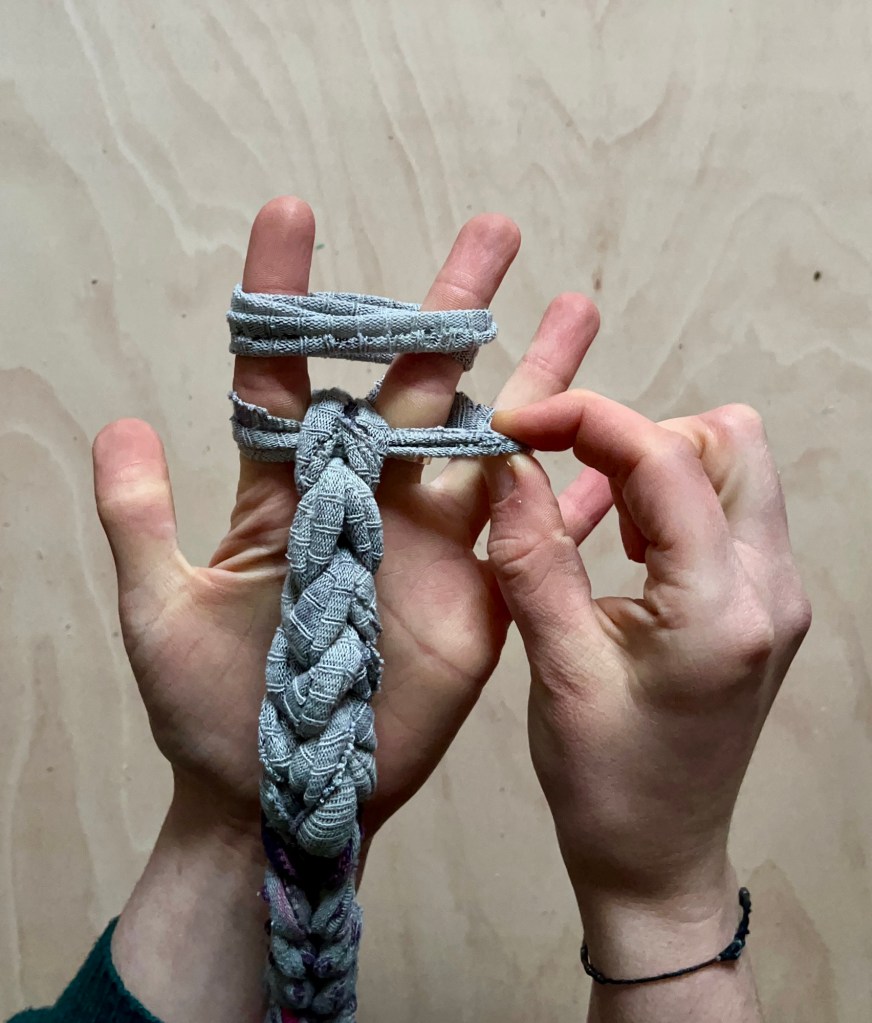
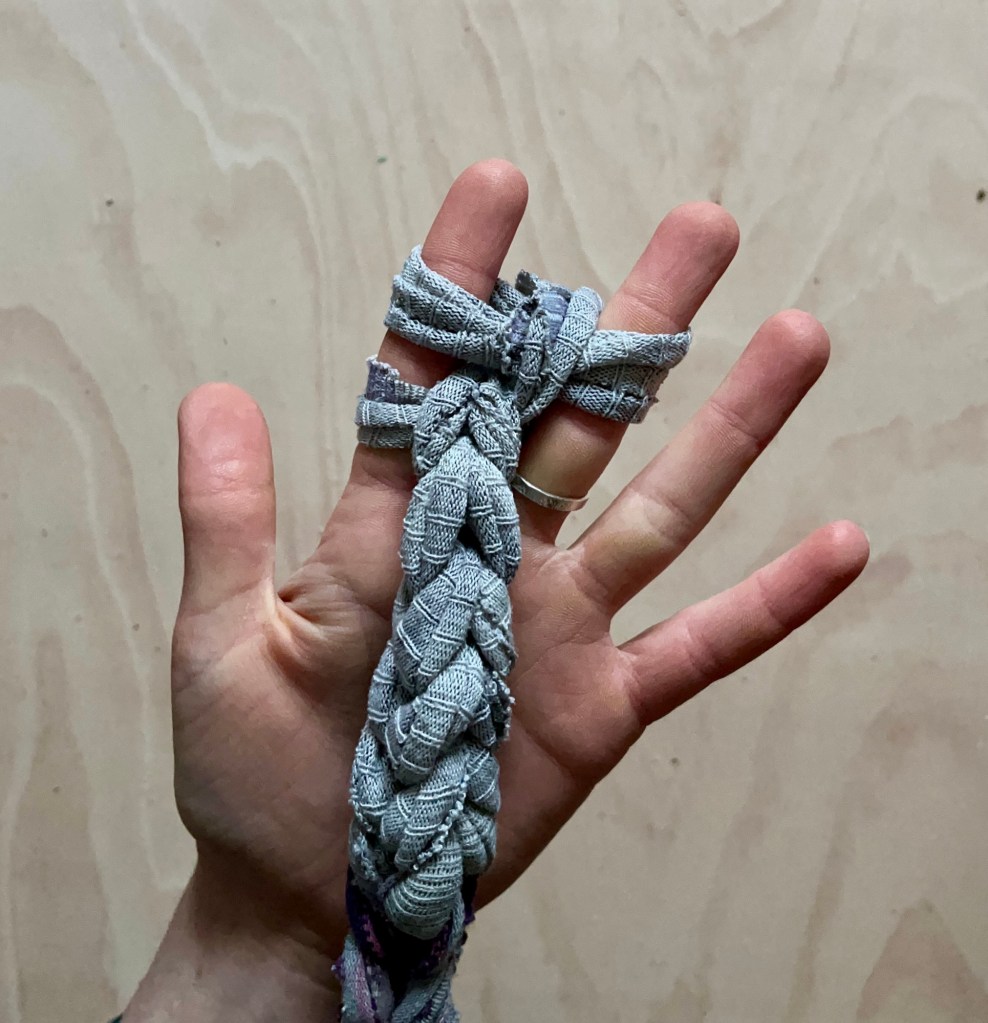
4. Repeat with the left hand side of the sock rings
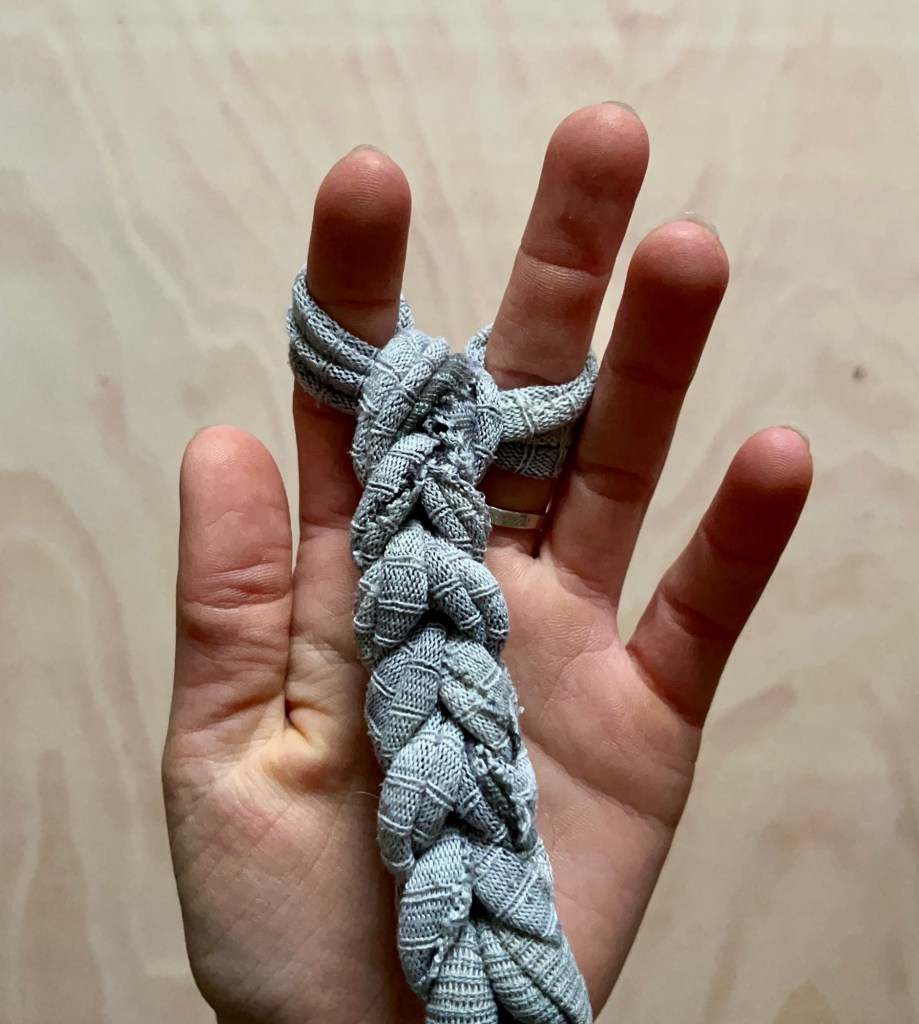
Now repeat until you have a super long chain of sock rings! The longer the chain, the bigger the rug will be.
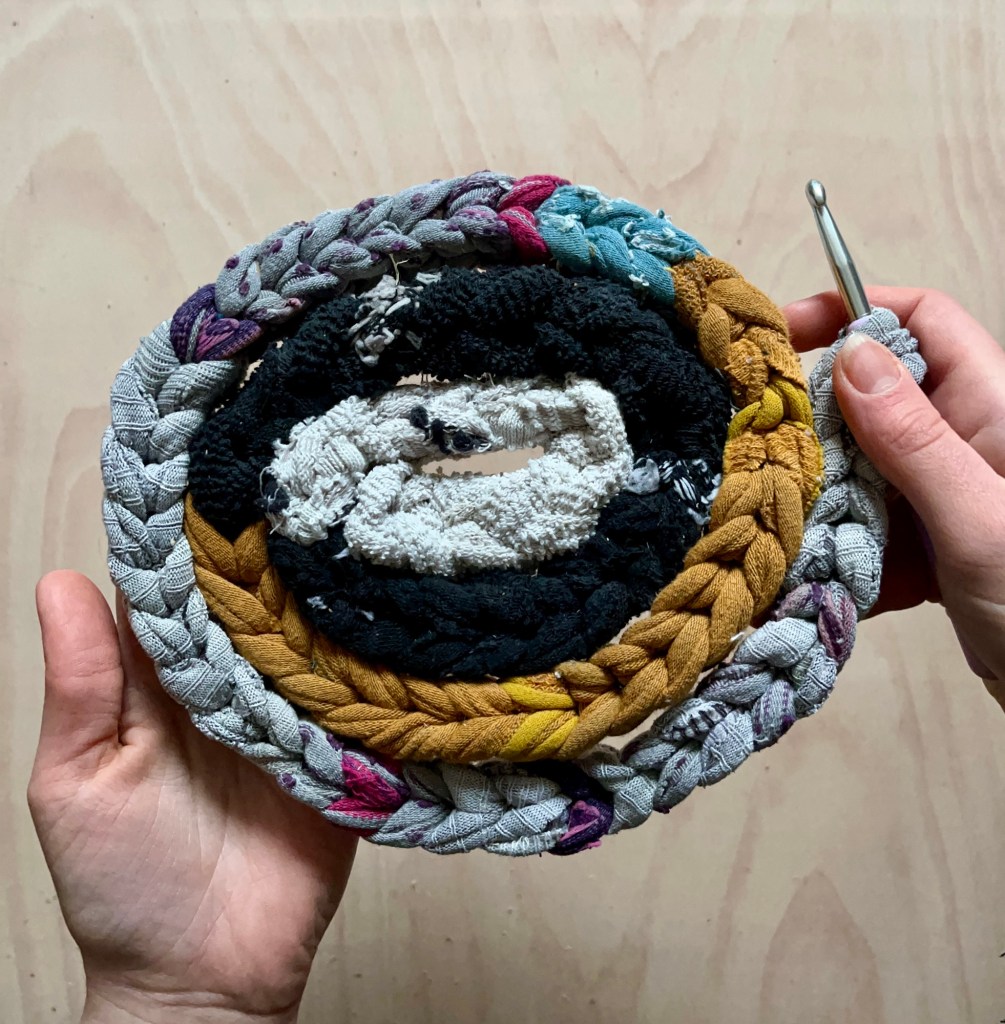
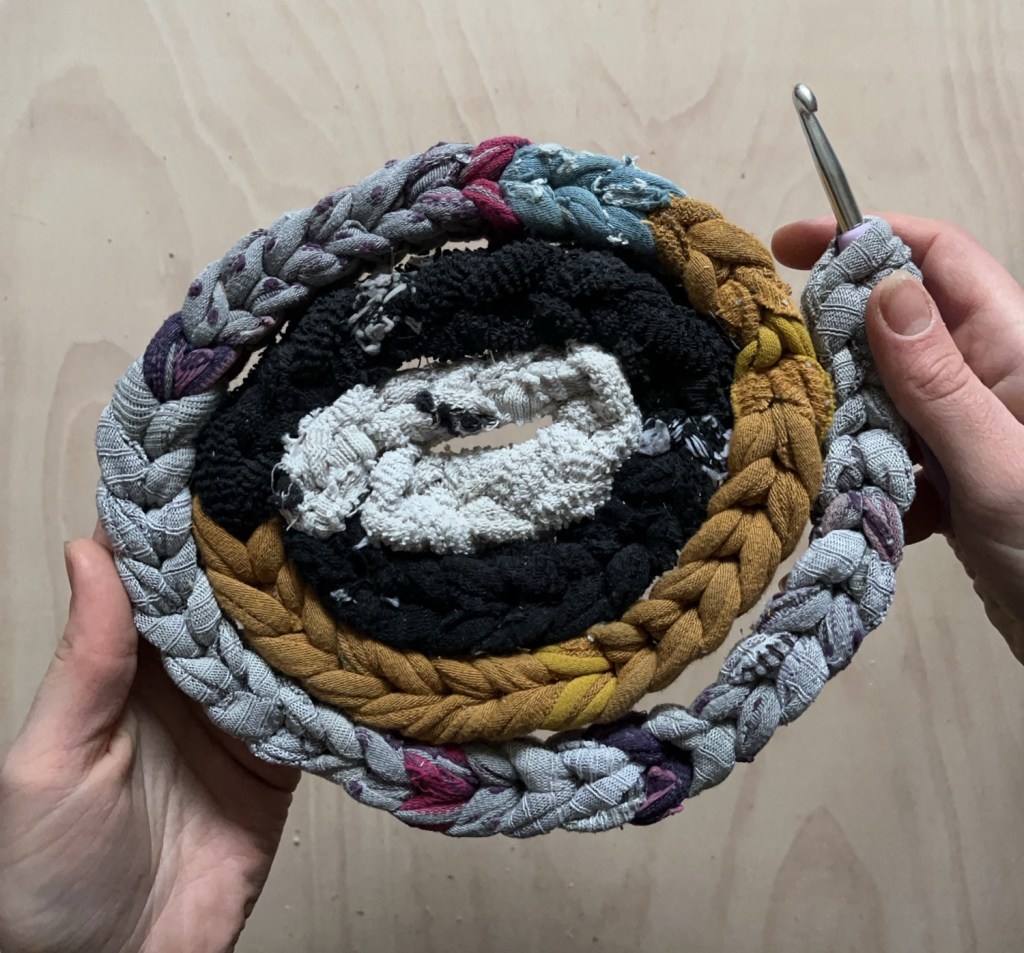
Mine currently looks like this! I have a long way to go before my rug is at the size I want but can only add more as and when socks come up.
Once you’re happy with the size of your rug, it is a case of hand sewing each round to the previous one to keep everything in place.
Happy sock rugging!
x

Leave a comment